Tiny products make big impression for museum visitors and eCommerce with the right product photographer.
Photographing tiny products takes a lot of patience. It requires the right equipment and a lot of skill—especially when the software lets you down. I have been photographing small, even tiny products for several years, mostly for eCommerce websites. There was one item that proved to be the most challenging I had ever photographed—the military’s highest honor; the Medal of Honor.
This blog post will walk you through what I had to do to make a small object printable at an enormous size. It is followed by a selection of other eCommerce photography I have done of small products. But first, wouldn’t you like to know how I got into macro photography? It’s not a genre of photography that everyone rushes out to do…this should be interesting.
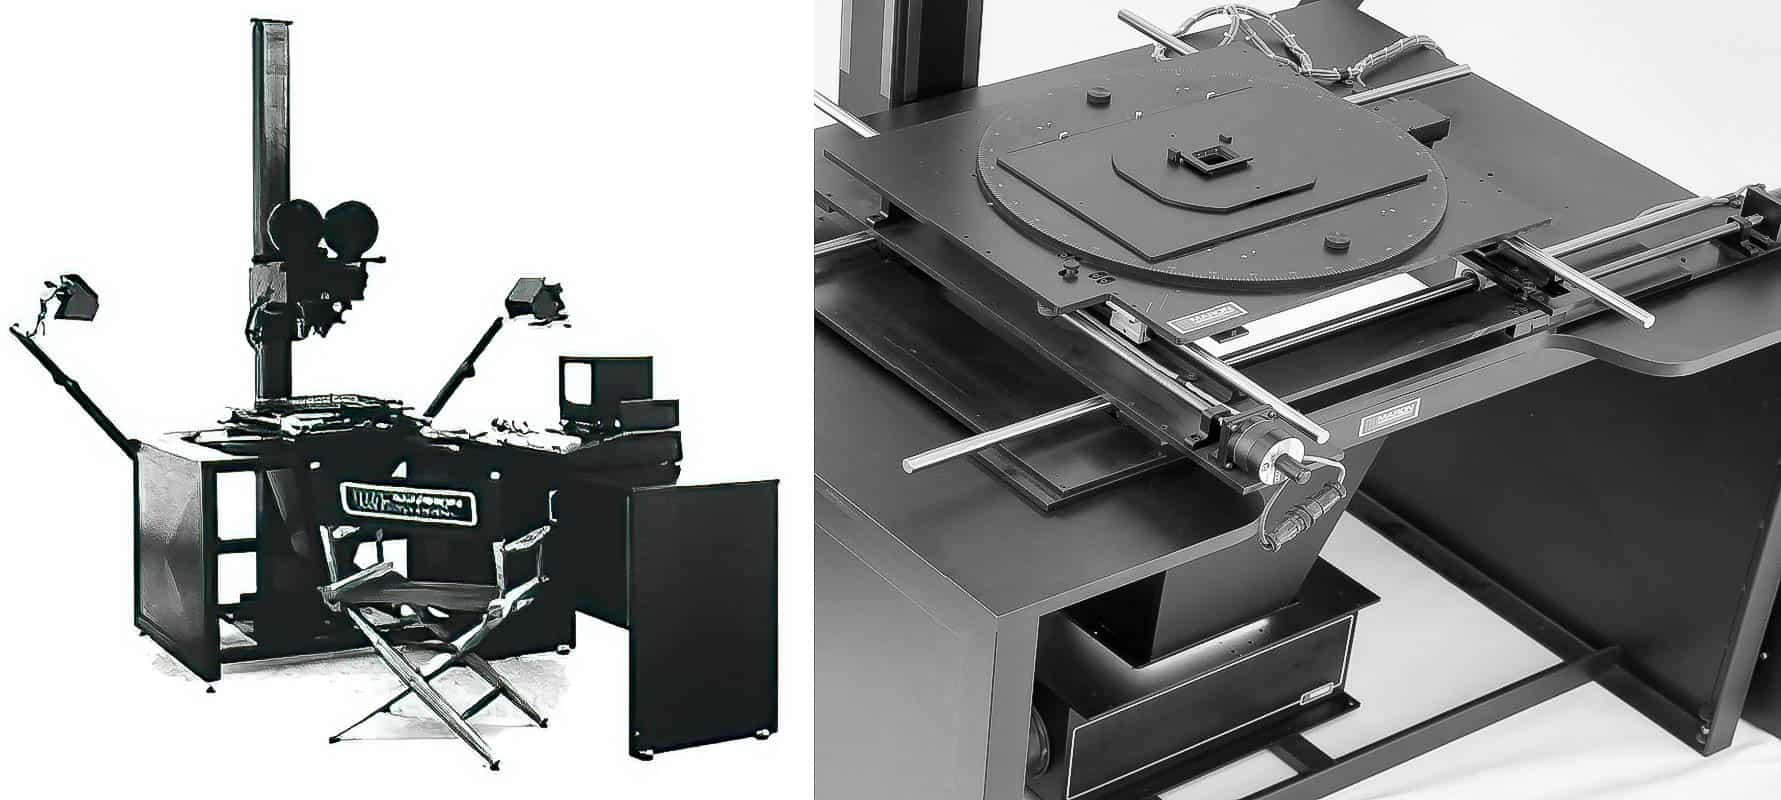
Manufacturers photos of the Marron Carrel 1600 optical printer and animation stand. The image on the right shows an Omega enlarger head placed on the floor, pointed upward with a light baffel to project light through the transparency that would sit in the slide carrier. The whole thing could be programmed to move in all directions and repeate the move as many times as needed over the same frames of film. See Wikipedia for more information about Multi-Image Production.
Macro Photography – The day I had to start thinking small, really small.
The camera I worked on was similar to the one they used to create the very first “Star Wars” movie. It was called the Marron Carrell 1400 animation stand (at right.) You would use it for duplicating slides, photographing flat art work, and creating animations.
Super Close-Up Panoramas
The closest I ever had to shoot macro was when we made panoramic slide shows. To make a panoramic image, you had to bring the camera super close to a 35mm slide so that about 30% of the image filled the frame of the camera. Then it needed to be moved so another part of the image could be photographed. The slide stage was contolled by a micro processor so I could program it to move in small increments and then take the photo, then move to the next point, etc.
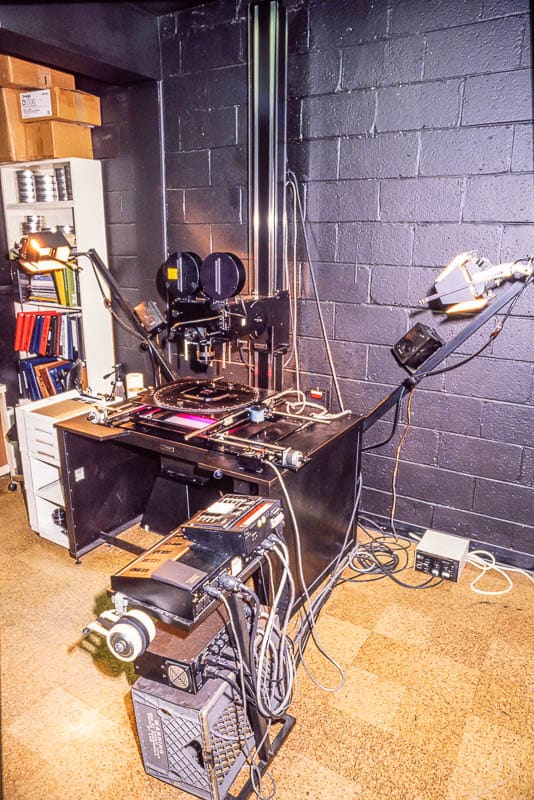
This is a photo of the Marron Carrel 1400 I used to work on from 1986 – 1995.
The short explanation of photo compositing
I would also composite graphics over top the panoramic image. They would be shot on the developed panoramic image one overlay at a time, for many frames to create animation steps.
The image below is a panoramic composite I made. You can see the original photo of the skyline in the background. It was shot in three parts, two frames butting left/right and one overlapping the center. I think this image took about 12 different exposures for each of the three areas. Imagine making the ’90 zoom out. That would take another two exposures per step in a 24 step animation. Many long hours required.

This image would be created in 5 pieces for a 3-screen wide presentation. Two of the sections overlapped. When placed into a bank of slide projectors, a programmer could make them look like a movie. The multiple screen setups would sometimes be 50 feet wide. Does any of that make sense? You should have seen me try to explain this to my grandfather. Basically, I did on film, what we do on the computer using Powerpoint, Premiere Pro, Photoshop, and After Effects. Maybe that makes more sense?
I did this for about nine years until the industry was over run but what we thought was an inferior industry; video. Video was for showing live action, not for animation…or so we thought. Anyway, after 1995, my macro photography and animation took a back seat.
Professional Macro Product Photography
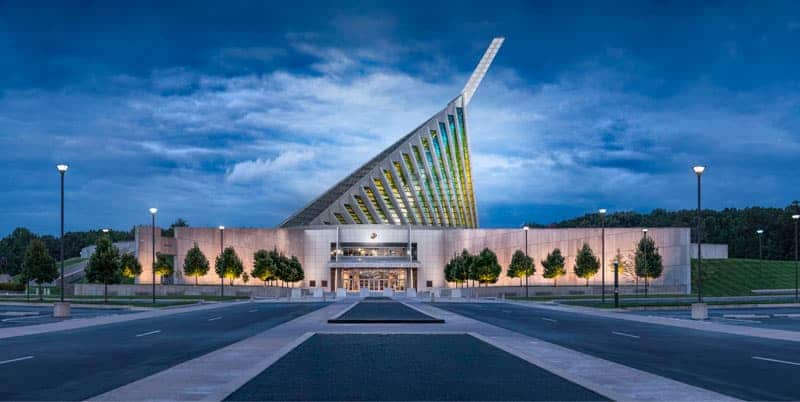
In mid-2016, I moved into my Woodbridge photo studio. While the studio was being painted, a gentleman in Denver, Colorado reached out to me about photographing something very small. The firm, Fentress Architects, was working on a new addition to the National Museum of the Marine Corps in Triangle, Virginia. They wanted to know if I could photograph a Medal of Honor for a 28 ft. banner display they were designing. The banner would go into entrance to the Medal of Honor Theater.
The Medal of Honor
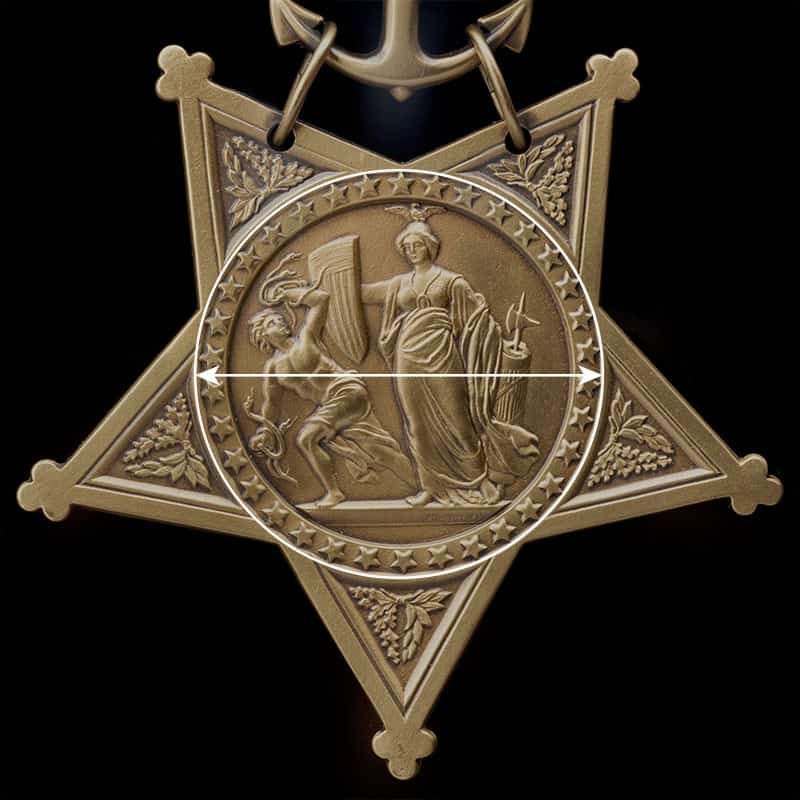
From the architects description, I knew the medal would be very small. Using latex gloves, I held the medal and measured it. The round part of the medallion measures roughly 1 1/2”. Fentress needed this part to be (wait for it) 8 feet high without enlarging it through software. To capture this, I used a Nikon D810 with a 105mm macro lens attached to an extension tube. This permitted the camera to get really close to the medallion so just a piece of it would fill the frame. The idea was similar to how I photographed the slide panorama mentioned in my history above; photograph it in parts and stitch them together through software. This would make a huge image!
Beautiful Lighting
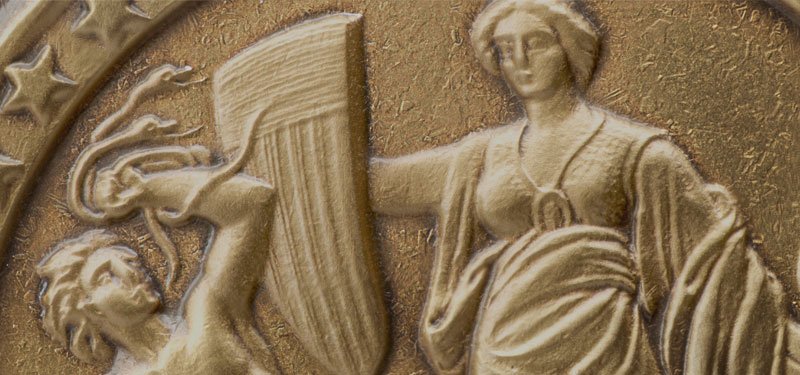
That wasn’t enough, though. I set up lighting in an unconventional way. The standard way to document something like this would be to place two lights at 45˚ to the subject. It is called “copy lighting.” Being a studio photographer, I wanted to treat it like a portrait. Instead of copy lighting, I placed the lights above the medallion instead of at the sides. This way, the light looked more natural. If you look at the lead image at the top of the page, you will see how nice the shadows look.
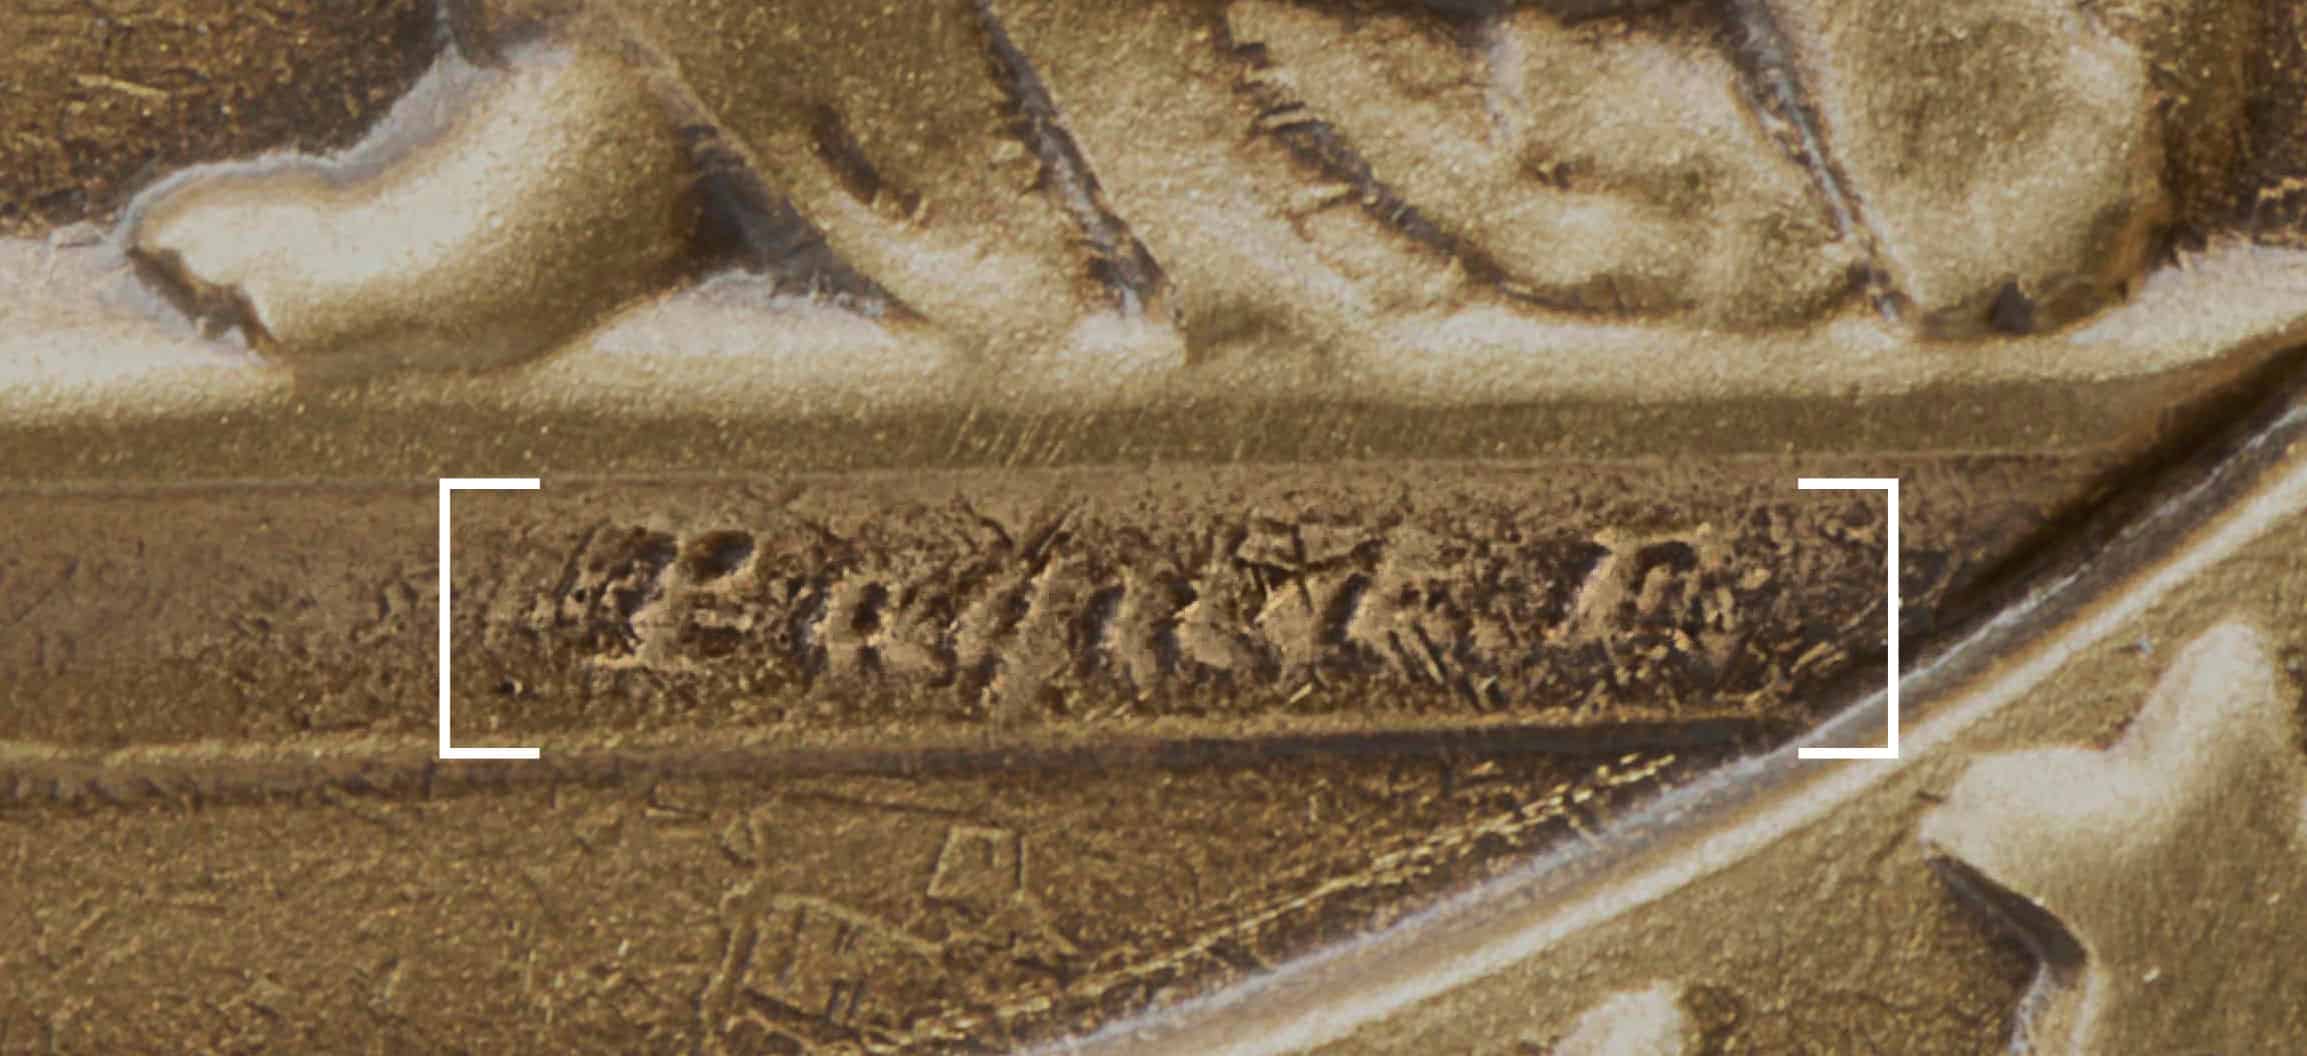
With this lighting, it was possible to see the shape of the people and the various textures that comprised the bas-relief. The camera was so close to the medal, you could see the artists signature engraved into the metal, or is it? I’m not even sure if it’s a signature, because it looks typed, not hand written. What could it be? My quick Google search turned up zilch. How many others know about this? But wait, it gets even more detailed!
Critical Focus
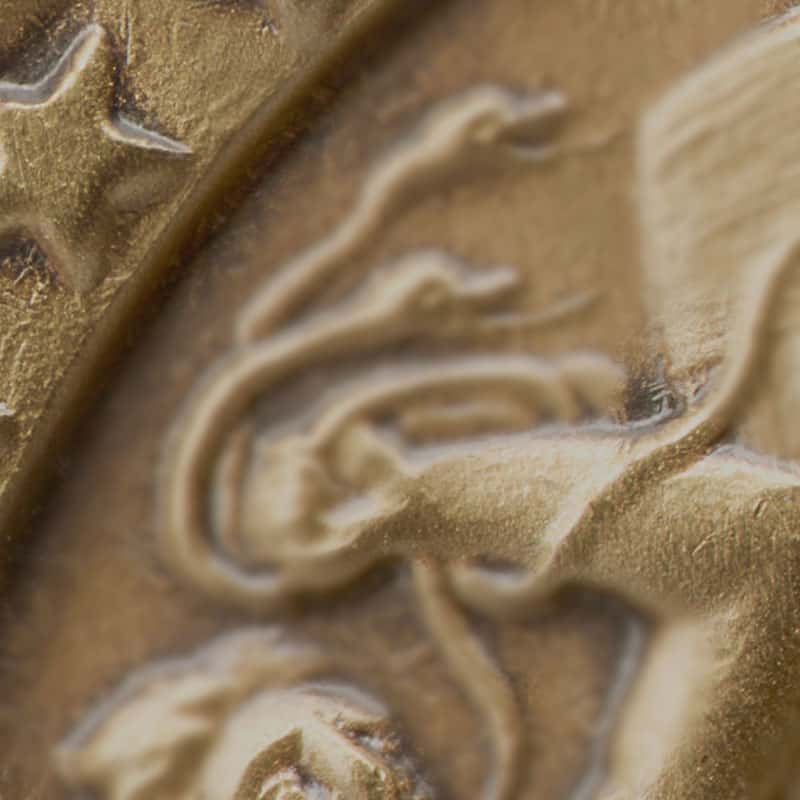
The camera was so close (how close was it?) It was so close that the background of the medal was out of focus when the lens was focused on the foreground. I had to shoot between seven and 35 focus steps and then combine them to make a single tile image. There turned out to be about a four by six grid. Once I had all the photos, only then could I combine them into a single cohesive image. I thought that putting it together was going to be a breeze. Unfortunately, all the software I tried was not up to the task. I ended up putting it together by hand in Photoshop.
The Final Image
Below is the final image with my photos of the Medal of Honor composited into the artwork that Fentress Architects designed.
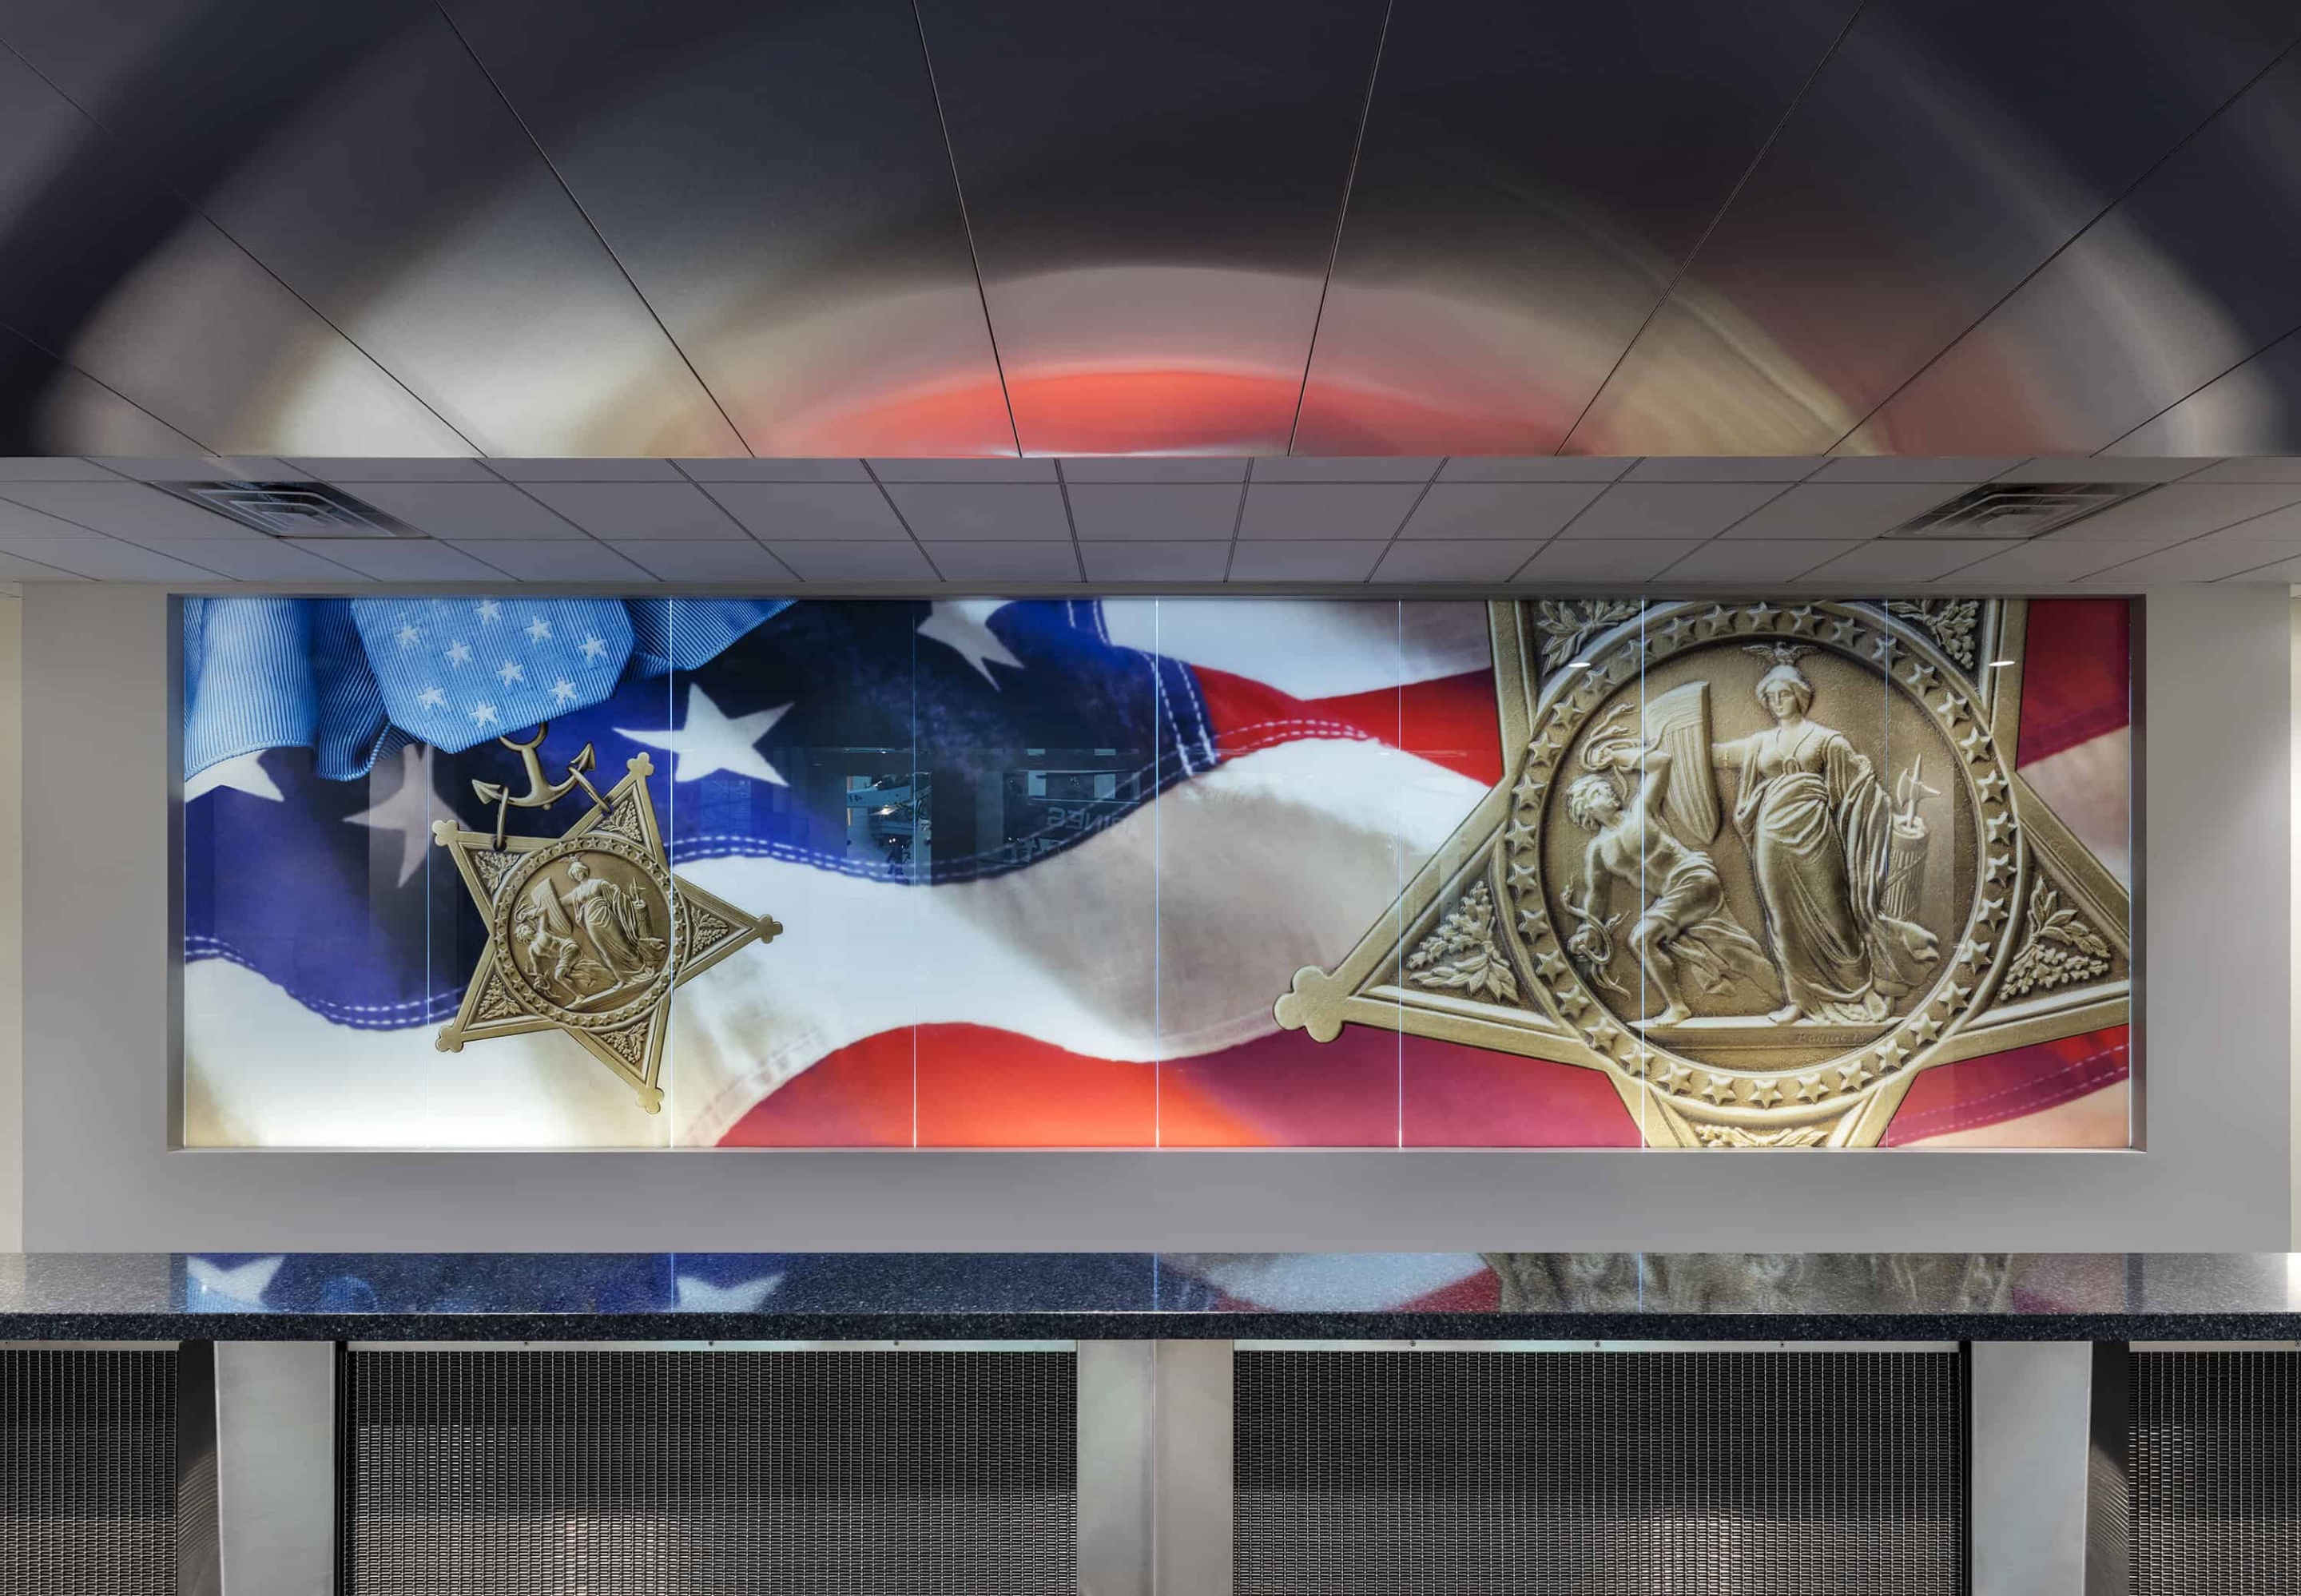
Photo shows the full banner image inside it’s display. This photo was provided with permission by Fentress Architects and the photographer Raul Garcia. Click for enlargment. Photo © Astula/Raul J. Garcia, 2018
Macro Product Photography Success
The final image was printed as a banner and is displayed at the entrance of the Medal of Honor Theater inside the National Museum of the Marine Corps. I can’t thank Fentress enough for this opportunity to help shape a national treasure.
Choosing a Macro Product Photographer
Some products are so small that a simple DSLR, even a good one, is not enough to capture the entire product in focus. A product should be sharp from front to back. To achieve this, a photographer should use focus stacking as I’ve described in this article. This is a very time-intensive, and detail-oriented process to invest in.
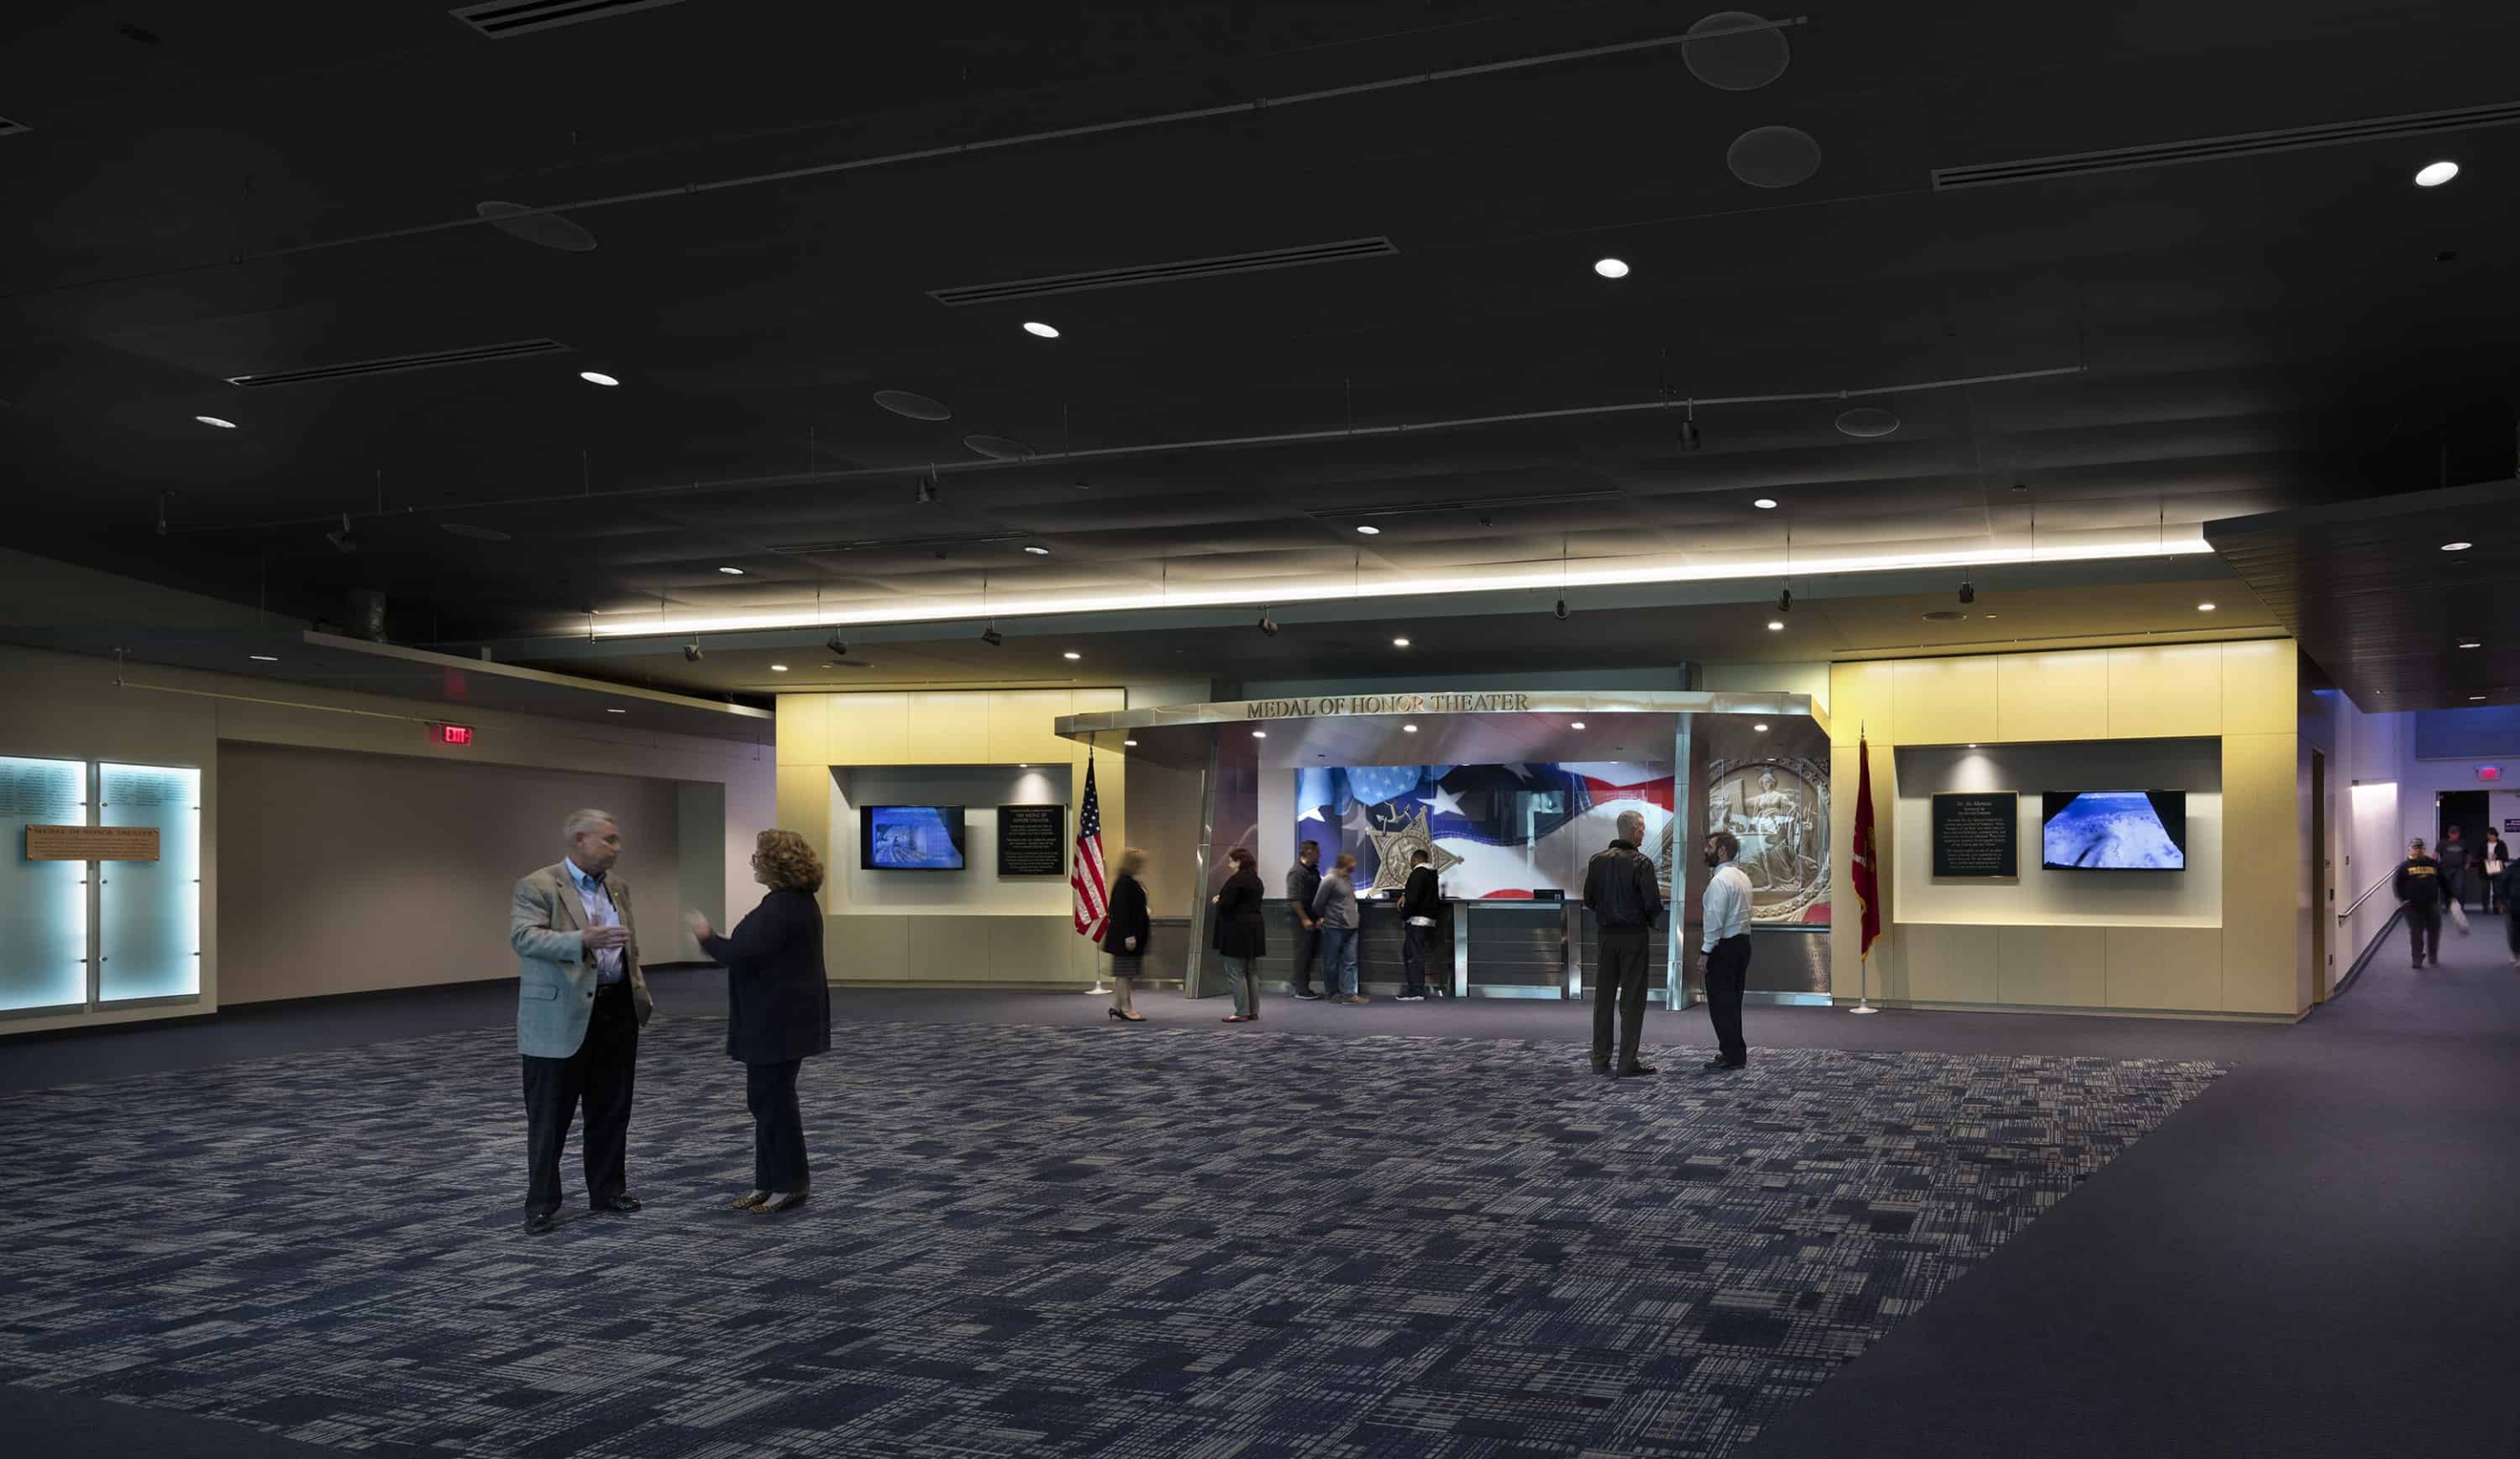
Photo shows the full banner display in relation to the size of the theater entrance. This photo was provided with permissing by Fentress Architects and the photographer Raul Garcia. Click for enlargment. Photo © Astula/Raul J. Garcia, 2018

